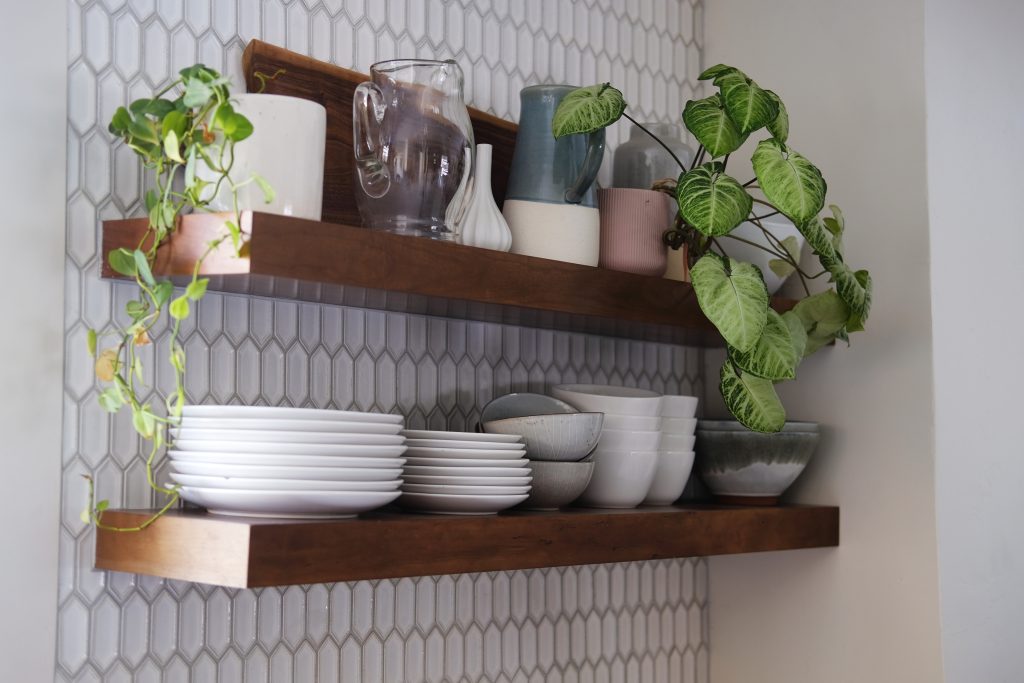
If you’re like many homeowners, there’s one thing you always seem to run out of in your home: storage space. You need at-home storage solutions that don’t break the bank. Well, you’re in luck! This is a step-by-step guide to DIY floating shelves that you can put almost anywhere to increase your home’s storage space.
Floating shelves use vertical space that typically goes unused. They also add charm to your home, and can be made with simple tools and materials!
If that sounds like the DIY project your home needs, read on to get started today! It’s all brought to you by the storage specialists at NSA Storage.
Why are Floating Shelves a Good Choice?
You might be wondering why floating shelves are a good choice for creating extra storage in your home. There are several excellent reasons including:
- Floating shelves take up zero space on your floors
- Floating shelves draw the eye up and make any room feel “bigger”
- You can install floating shelves almost anywhere
- Floating shelves hold all sorts of things including books, dishes, tools, tchotchkes, small containers, etc.
- Floating shelves add a sleek and modern look
What You Need for DIY Floating Shelves

Before you begin crafting your floating shelves, it’s best to gather all of your tools, materials and supplies. They include:
- 2×4 (or 1×2) wood slats for the shelf frame
- Half-inch plywood for the shelf’s surface
- 2-inch or 3-inch wood screws
- Wood glue
- Wood clamps
- Wall anchors (if no studs are usable)
- Sandpaper or a sanding block
- An electric drill or nail gun
- A saw (hand or power) with small, fine teeth
- Wood stain, paint, and a clear coat finish (optional)
It would also be helpful to have a workbench available so that you don’t have to work on the floor. Two sawhorses with a piece of plywood as the top also works well.
Step-By-Step Guide
Step 1: Choose the Location for Your DIY Floating Shelf
First, pick the wall where you want to hang your floating shelf. Good places for DIY floating shelves include:
- Above a desk
- Over the toilet in your bathroom
- Inside one or more closets
- In your garage or shed
- In your kitchen
Remember, the point of floating shelves is that they can use vertical space. This is wall space that, typically, goes unused and is wasted. Also, you can go as high up as you like, especially in your garage, basement, or attic. That way, you get the benefit of all that open, unused space!
Pro Tip: Use a stud finder to find the studs in the wall. Screwing into studs ensures that your shelves will not fall down. Mark the stud locations with a pencil to ensure you get the location correct.
Step 2: Measure and Mark Your Shelf Pieces
Decide how long you want your floating shelf to be. Most are 24” to 36” long. Once you’ve chosen the length:
- Use a measuring tape to mark the wall.
- Use a level to make sure your marks are straight.
- Mark both the top and bottom edges of the shelf.
This step will help guide your frame installation. Don’t skip it, as you might end up with a shelf that’s not level and looks unattractive.
Step 3: Cut the Frame and Shelf Boards
Now it’s time to cut the wood for your floating shelf. Remember to work safely and wear safety goggles and ear protection.
- Cut two pieces of wood the full length of your shelf.
- Cut two to three shorter pieces (about 6–8 inches) to go inside the frame for support.
- Cut a top board from plywood or pine to match the frame size.
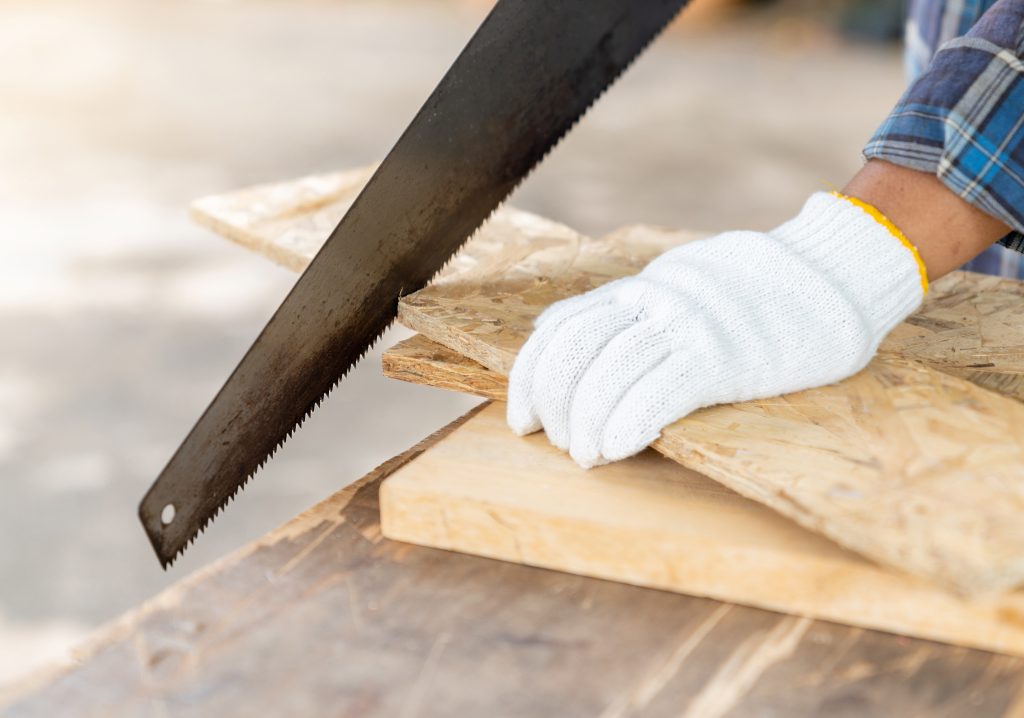
Use a saw with smaller teeth for smooth, even cuts. Once cut, sand the edges if they feel rough or have splinters and burrs.
Step 4: Build the Floating Shelf Frame
First, lay out the frame for your floating shelf on the floor in your garage or shed, or on a work table. Next:
- Place the long boards on each side.
- Place the short pieces inside, spaced evenly.
- Use a drill to drill pilot holes for your screws.
- Use your 2” or 3” wood screws to attach the frame parts together.
- Be sure to use wood glue for extra strength.
- Use wood clamps to hold everything together tightly while the glue dries. (About 12 hours.)
Step 5: Attach the Floating Shelf’s Frame to the Wall
Now you’re ready to mount the frame to the wall you’ve chosen. To do that, you should:
- Line up the frame with your wall markings.
- Double-check with your level to make sure everything is straight before drilling any holes.
- Drill pilot holes through the frame into the studs.
- Use screws to attach the frame securely to the wall.
If there are no studs available, use wall anchors to keep the frame held firmly to the wall.
Step 6: Add the Top Board to Your Floating Shelf
Once the frame is on the wall and held firmly in place, it’s time to place the actual shelf onto it. To do that:
- Place the top board onto the frame.
- Use plenty of wood glue along the top edges.
- Press the board down firmly onto the frame.
- Drill some pilot holes into the top and frame.
- Use a few small screws from the top to hold it in place.
Pro tip: You can also cover the sides of the floating frame with wood if you want a thicker, framed look. Just cut side and front pieces from some of your leftover wood and attach them using glue and screws.
Step 7: Sand and Finish Your Floating Shelf
Once everything has been glued and screwed into place, use sandpaper to smooth any rough edges. This not only makes your shelf look nicer and more finished, but also helps the paint or stain to stick. Now you can choose to:
- Paint your shelf to match your wall.
- Stain the wood to show off the grain.
- Add a clear coat for protection.
- Mount the shelf without painting for a “natural” look.
If you decide to paint and finish your floating shelf, be sure to let it dry fully before placing items on top.
Tips for the Best Floating Shelf Results
- Double check your measurements. As the experts say, “measure twice, cut once”.
- Use a drill bit that is slightly smaller than the screws you use.
- Use safety goggles and ear protection when cutting, drilling or hammering.
- Sand, dust and clean your floating shelf thoroughly before you stain or paint it.
- Keep your work area clear and organized. This reduces errors and accidents.
Get Extra Storage Space With NSA Storage!
We think you’ll agree that DIY floating shelves are a great way to increase your home’s storage and keep it organized. They’re cost-effective, relatively easy to make and a great weekend project. Not only will you increase your storage, you’ll feel great about having done it yourself!
At NSA Storage, we know a little bit about storage space. Our clean, secure, and safe storage units can be found across the United States. If you need one, simply reserve a storage unit online and it will be ready and waiting when you arrive.
We hope this step-by-step guide can help you create the extra storage space you need in your home. If you build your own DIY floating shelves, share your hard work with us on Instagram or Facebook!