Table of Contents:
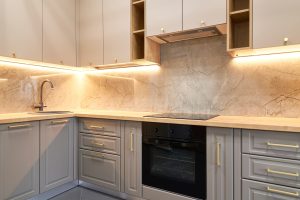
If you’re searching for value-adding home upgrades, replacing carpet or laminate with hardwood is a great step. Warm, inviting, and sophisticated, real estate data shows that installing hardwood flooring can increase your home’s value from 2.5% to 5%. If you’re looking to save some money and flex your DIY chops, handling the installation yourself might be the right move. Use this guide, brought to you by NSA Storage, to help you through the process.
How to DIY a Hardwood Floor Installation
Before starting this project, it’s important to note that installing a hardwood floor is not typically considered a beginner DIY project. It requires careful measurements, specialized tools, and patience to get everything aligned correctly. Mistakes can be costly and difficult to fix once boards are nailed down.
Materials List:
- Hardwood flooring
- Underlayment / moisture barrier
- Flooring nails
- Baseboards
- Transition strips
Tools List:
- Flooring nailer
- Rubber mallet
- Hammer
- Tape measure
- Table saw
- Miter saw
- Chalk line
- Carpenter’s square
- Heavy-duty pry bar
- Safety glasses
- Ear protection
- Knee pads
Some equipment, including flooring nailers, can be rented at big box home improvement stores. If you don’t plan to DIY more hardwood flooring, renting might be a better financial choice than buying.
Allow the Flooring To Acclimate
Once you’ve bought your flooring and gotten into your home, it’s important to let it acclimate. Like most natural materials, hardwood expands and contracts due to temperature and moisture. Because of this, it’s recommended to let the flooring sit in the room where it will be installed for three to five days. Allowing the wood to acclimate reduces the risk of warping or gaps later.
Removing the Existing Floor
Unless your home is actively under construction, you’ll need to remove the current floor and any flooring materials. Some of the materials you might need to remove include:
- Old hardwood
- Carpet and underlay
- Laminate flooring
- Vinyl
- Tile
You’ll want to remove everything so that all you have left is the subfloor. That includes nails, screws, tacks, adhesives, and other junk. Use eye and ear protection as well as gloves, and take your time.
Prep the Subfloor
The subfloor in most homes is plywood or OSB (Oriented Strand Board). It must be clean, dry and flat before starting. Be sure to check for:
- Wet areas or water damage
- Weak spots
- Loose spots
- Uneven areas
Any leaks should be fixed at their source. Weak or loose spots can often be reinforced with screws into the joists. Uneven areas can be leveled with leveling compounds.
Professional hardwood flooring installers will agree that this step is one of the most important. That’s because even small flaws under your floors can turn into big problems, and squeaky floorboards, later.
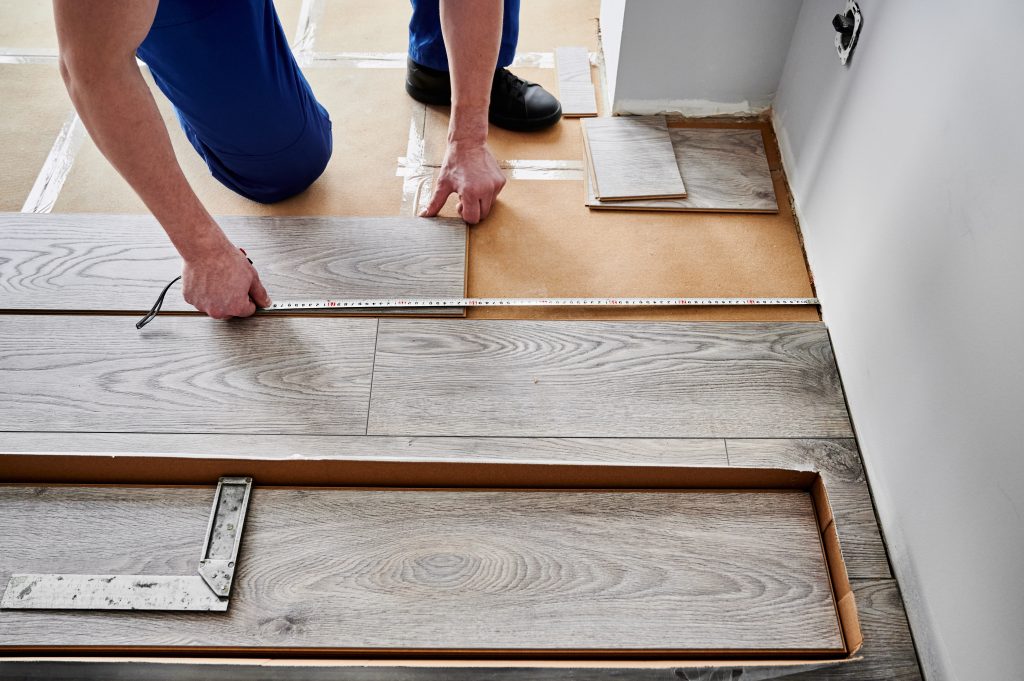
Plan Your Floor’s Layout
A balanced floor is the goal and, to get that, you’ll need a basic layout. Here’s how to do that:
- Measure the width of the room you’re flooring
- Adjust the layout of the boards so that the final row isn’t too large or too small.
- Use a chalk line to create a straight reference line along the wall where you plan to start. This will keep the entire floor aligned.
It’s worth noting that, in most cases, hardwood flooring is installed parallel to the longest wall in the room. However, barring that option, the flooring should be installed perpendicular to the floor joists.
Install the Moisture Barrier
Like any wood, hardwoods and moisture don’t mix. For that reason, a moisture barrier is recommended between the subfloor and new hardwood floor.
Typically made from lightweight plastic, the moisture barrier is rolled across the subfloor and secured according to the manufacturer’s instructions. This layer helps prevent moisture from rising through the subfloor and damaging the new hardwood.
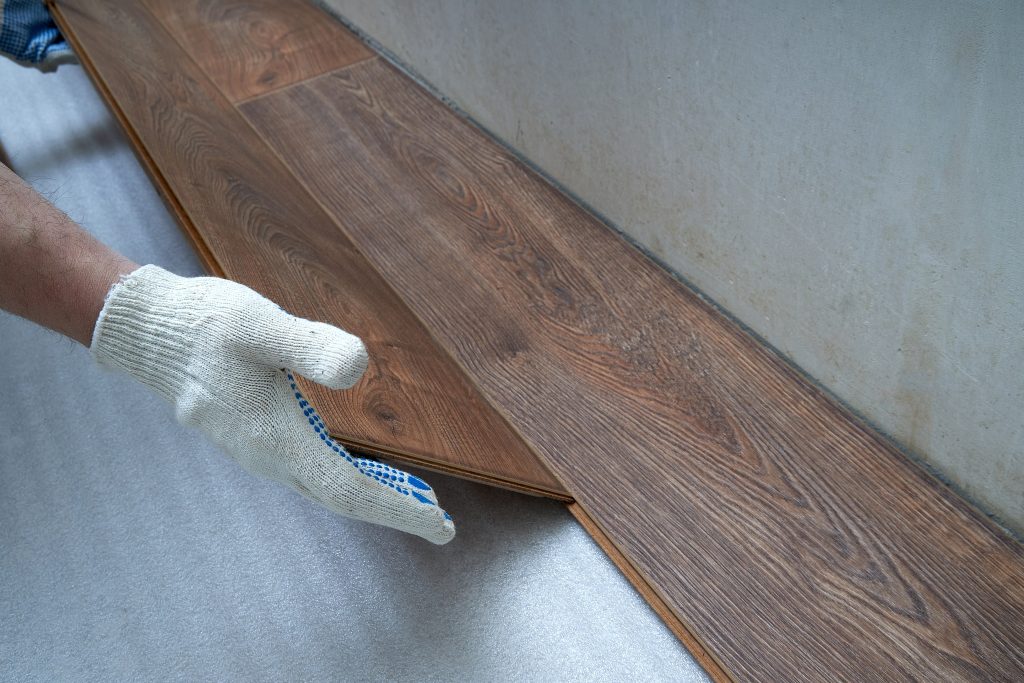
Install the First Row of Boards
They say that a home is only as strong as its foundation. The first row of boards when installing hardwood floors is often considered the floor’s foundation. They must be straight and true so that the boards that follow can do the same.
First you need to place spaces between the wall and the first row. This will give the floor room to expand and contract. Next, using a flooring nailer, nail the first row of boards into the subfloor and joists if possible.
Take your time with this first row and your reward will be easier installation and straight boards.
Install the Entire Floor
Now that the first row is down and secure, start placing the rest, one row at a time. Here are a few tips to ensure great results:
- Tap each board into place lightly with a rubber mallet to be sure it’s snug.
- Nail securely in place.
- Stagger the ends. Each row should end at a different point, which looks more natural and improves strength.
Cut the Final Row
It’s often necessary to cut the final row of boards lengthwise to fit the final gap between floor and wall. Remember to leave an expansion gap, which will be hidden by baseboards and trim.
Your Hardwood Floor is Now Installed

The installation is the hardest part of this project. The last three steps, sanding, staining, and trimming, are easier but demand patience and care also. They include:
- Sanding the floor
- Staining the floor
- Putting down baseboards and trim
These last steps are just as important for excellent results, so be sure to take your time and be patient.
Rent a Storage Unit During Your DIY Home Improvement Projects
New hardwood floors are a thing of beauty and add value to any home. The tips and advice you’ve read today will help you get the best results, and years of enjoyment, from yours.
If you need to store your floors before installation, or anything else during home renovations, NSA Storage can help. Our storage units can be a blessing, keeping your belongings safe and clean during the job. You can reserve a storage unit online today and start using it right away.