Table of Contents:
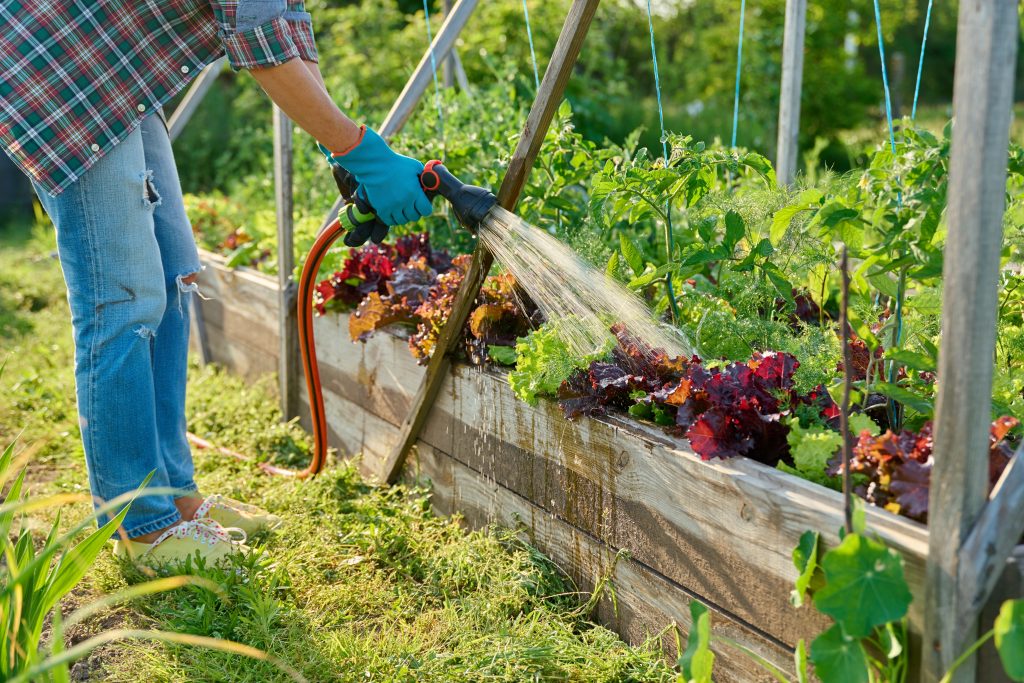
Spring is the time of year to get outside and start gardening. One challenge, however, is finding healthy soil to plant in. If that’s a challenge you face, one solution is to DIY your own raised planter boxes.
Straightforward to make, raised planter boxes can create small or large garden beds almost anywhere. Once filled with healthy, nutrient-rich soil, they provide many benefits, including better drainage, and make gardening possible in places where it might not have been before.
If DIYing raised planter boxes for your spring garden is your next weekend project, this guide from NSA Storage includes step-by-step instructions to build your own raised planter boxes and create a rewarding garden almost anywhere.
How to Build a Raised Planter Box
NOTE: The materials list and instructions below can be used to create a single 4’ x 4’ x 18” raised planter box. You can, of course, make them whatever size you choose by cutting lumber to your own specifications.
Some gardeners make several sizes of planters based on the plants that will be grown in them. Long, narrow, and deep for carrots, for example, or shallow and wide for strawberries.
Pro Tip: Pre-drilling holes prevents splitting the lumber you’ll be using, especially near the ends of each board.
Materials List
- (4) 2×10×8 boards (untreated cedar or pine)
- (1) 2×4×8 board (corner supports)
- Long galvanized wood screws (3–4 inches)
Tools List
- Table saw or circular saw
- Electric drill
- Measuring tape
- Hardware cloth
- Wire cutters
- Heavy-duty staple gun
- Safety glasses
Step 1: Cut Your Lumber
- Cut your 2×10×8 boards in half to make eight 4-foot boards. These will form the sides of the planter box (two stacked boards per side).
- Cut your 2×4 board into four 18-inch pieces for the corner supports.
Step 2: Assemble the Planter Box
Start by assembling the bottom layer of your planter box. Be sure the surface is level before you begin.
- Position one 2×4 corner support inside the corner of a side board.
- Drill four pilot holes through the board into the support and secure it with screws.
- Attach the remaining boards to form a 4’ × 4’ square frame.
- Next, place the remaining four 2×10 boards on top of the first four, aligning the edges carefully so the boards sit flush.
- Pre-drill holes and screw the top four boards into the corner supports.
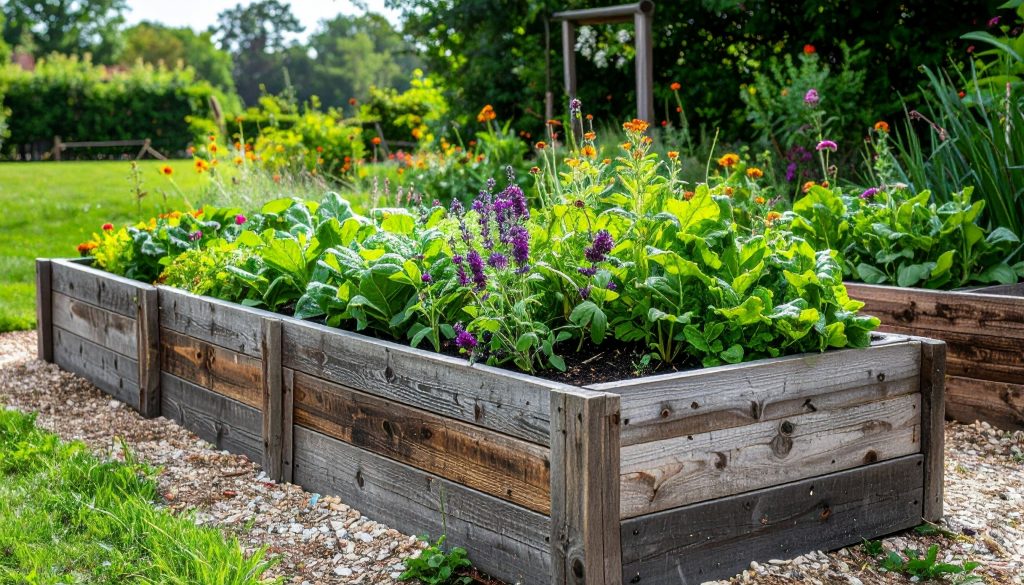
That’s it. You should now have a 4’ × 4’ planter box that’s about 18 inches deep, with sturdy corner supports holding everything together.
Your raised planter can be used for a variety of gardening projects anywhere you like. However, if you want to keep out rabbits and other burrowing pests, keep reading!
Rabbit-Proofing Your Raised Planter Box
- Cut a 5’ × 5’ piece of hardware cloth.
- Lay the cloth inside your planter box, centering it.
- Pull the hardware cloth up evenly along all four sides of the planter. Cut the corners diagonally to fold and staple the hardware cloth more easily.
- Staple the cloth securely on all four sides.
This simple extra step does a fantastic job of keeping rabbits from raiding your raised planter, as well as rats, mice, moles, and other pests.
How to Add Legs to Make an Elevated Planter Box
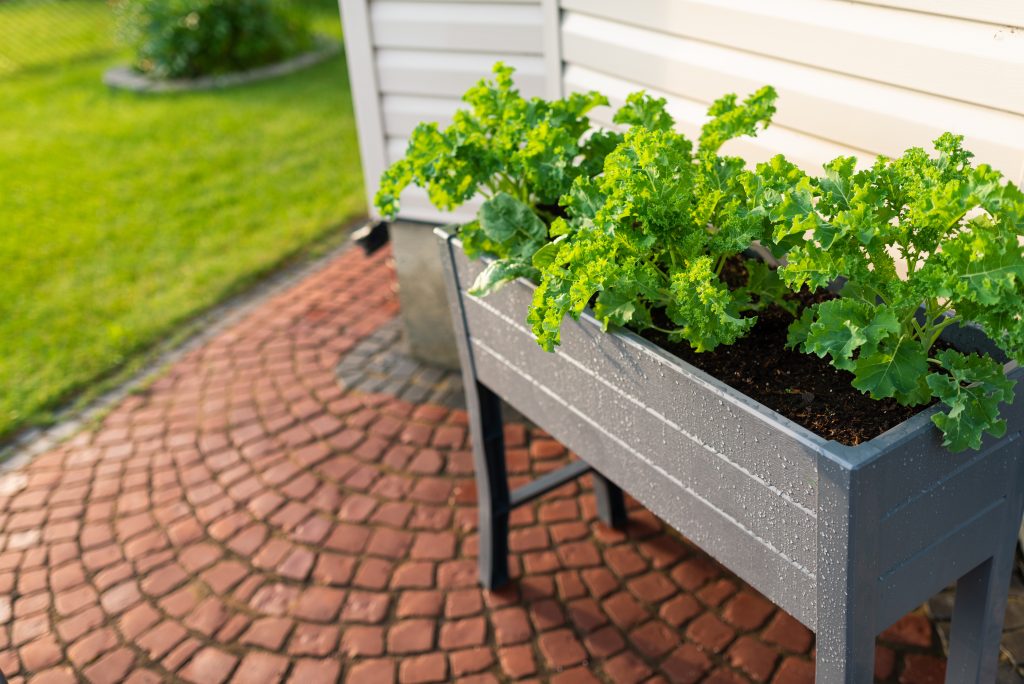
For some folks, bending over while gardening is uncomfortable or just not possible. To prevent this, you can attach legs and a bottom to your raised planter box and make it an elevated planter box. It’s relatively easy and will elevate the planter to a more comfortable gardening position.
Safety Note: A 4’ × 4’ planter is a bit too large to sit safely, or remain sturdy, on legs. A 4’ × 2’ planter is considered a better choice because it’s lighter, more stable, and easier to move. Also, a smaller planter box will fit better on a patio, deck, or in a sunroom.
The following instructions are based on already having built a 4’ × 2’ elevated planter.
Legs for a 4’ × 2’ Elevated Planter
Materials and Tools List
- 2×4 lumber for legs
- 1×4 lumber for cross supports
- One piece of ¾-inch plywood for the planter bottom
- Short wood screws
- Long wood screws
- 1” hole drill bit
- Electric drill
- Level
Step 1: Cut Your Lumber
- Cut four pieces of 2×4 to your desired leg height.
- 30 inches is roughly desk height, but some gardeners prefer 36–38 inches.
- Cut four pieces of 1×4 lumber to fit between the legs for cross supports. For a 2’ × 4’ planter, you will need two 2-foot pieces and two 4-foot pieces.
- Cut your ¾-inch plywood into a 2’ × 4’ rectangle to form the bottom of the planter.
- Drill about 12 evenly spaced 1” holes in the plywood for drainage.
Step 2: Attach the Bottom of the Planter
- Flip the planter box upside down.
- Use short wood screws to attach the plywood to the planter frame, aligning it evenly on all four edges.
Step 3: Attach the Legs
- Keep the planter box upside down.
- Position a leg at each corner and pre-drill your holes.
- Use long wood screws to attach each leg securely to the planter frame. Make sure the legs are vertically straight before tightening the screws completely.
Step 4: Add Side-to-Side Cross Supports
- Attach the four 1×4 cross supports midway down the legs using wood screws. These supports add stability.
- Be sure the supports are level before securing them.
Step 5: Check Stability
Stand the planter upright and check that it sits level and doesn’t wobble.
Congrats! Your elevated planter is now ready to be filled with soil and planted.
Organize Your Garden With a Storage Unit
Growing vegetables, fruits, or flowers in a DIY planter box is an easy way to flex your green thumb, even if you don’t have a large outdoor garden. Building a planter box is relatively easy and rewarding as well.
If you need to store your gardening supplies, tools, or anything else after your project is complete, NSA Storage can help. Our storage facilities can be found all over the United States. They all have safe, secure, and affordable self-storage units available in a wide range of sizes. Reserve a storage unit online, give your local NSA Storage a call, or drop by during store hours. A seasoned storage specialist will be happy to answer all your questions.