Table of Contents:
- Why Installing a DIY Backsplash is a Good Idea
- What Does It Cost to DIY a Backsplash?
- How Much Time, Effort, and Skills are Needed to Install a Backsplash
- Traditional Backsplash Vs. Peel-and-Stick
- Should You Choose Traditional Backsplash or Peel-and-Stick?
- Should You Rent a Storage Unit for Your Kitchen Renovations?
If you’re looking for a kitchen upgrade that’s both low-cost and high-impact, look no further than a backsplash. A backsplash is installed on kitchen walls under the cabinets and behind the sink and stove to add a layer of protection and a pop of texture and color. If you’re ready to tackle this project yourself, follow this NSA Storage guide to get you started on your DIY kitchen backsplash.
Why Installing a DIY Backsplash is a Good Idea
Many kitchens lack backsplashes, increasing the risk that their walls will be damaged by water, heat, grease, and flames. Also, installing a backsplash is an excellent opportunity to show off your unique taste and style. The right DIY backsplash can turn a lackluster kitchen into one that impresses.
Backsplashes deliver personality, flair, and wall protection at a much lower cost than a full kitchen remodel. Your kitchen will look new and different, but your budget won’t get battered in the process. Even better, backsplashes have a very high ROI (Return On Investment) when selling your home!
What Does It Cost to DIY a Backsplash?
As with most home improvement projects, you can find backsplashes in different materials, styles, and price ranges. For example, peel-and-stick backsplashes are relatively affordable. Tile backsplashes, on the other hand, can get pricey depending on the material.
Below is a simple breakdown of the cost to DIY a kitchen backsplash, based on an average area of 15 to 30 square feet.
Tile Backsplash:
- Tile: $5 to $25 per square foot
- Mortar, grout, spacers, and sealer: $1 to $3 per square foot
- Tools (if you don’t already own them): $50 to $200
- Average cost: Between $300 to $800+
Peel-and-Stick Backsplash:
- Peel-and-stick tiles: $4–$12 per square foot
- Minimal extra supplies (razor knife, level): $10–$25
- Average cost: $100 to $300
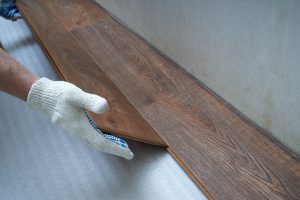
How Much Time, Effort, and Skills are Needed to Install a Backsplash?
Before installing a DIY kitchen backsplash, it helps to know how much time, effort, and experience you’ll need. That way, you can choose the backsplash that matches your vision and skill level.
Below we break down all three to give you a clear idea:
DIY Backsplash Time Investment
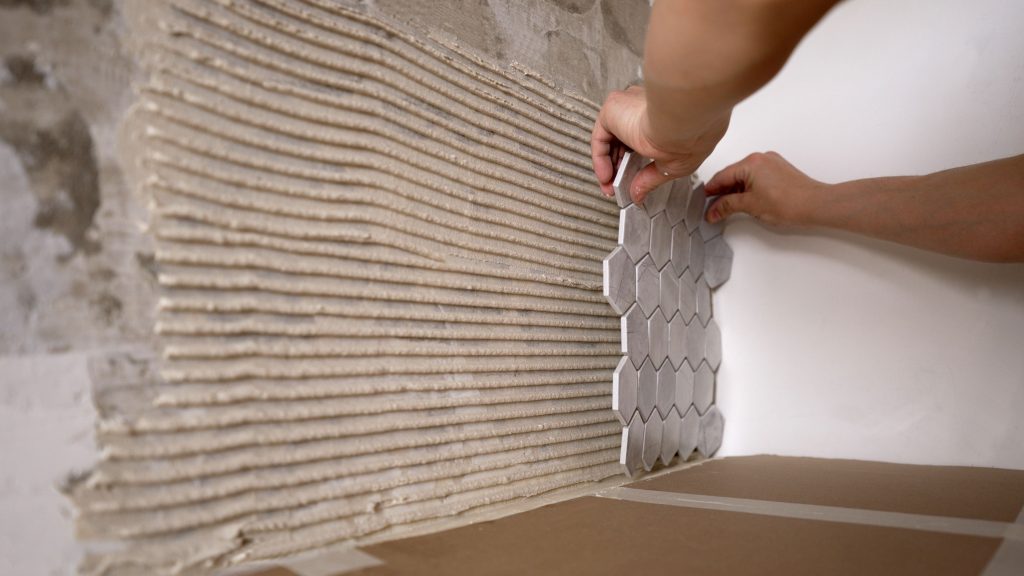
Traditional Tile Backsplash:
- Prep: 1- 2 hours
- Tile installation: 4 – 8 hours
- Drying time before applying grout: 24 hours
- Grouting: 2 – 3 hours
- Cleanup: 1 – 2 hours
- Total project time: 2 – 3 days
Peel-and-Stick Backsplash:
- Prep: 30 – 60 minutes
- Installation: 1 – 2 hours
- Drying time: None
- Cleanup: 30 minutes
- Total project time: Under 4 hours
DIY Backsplash Skill and Effort Investment
Traditional Tile Backsplash:
- Requires measuring, cutting, leveling, spacing, and grouting
- Physical effort: Moderate to high
- Skill level: Intermediate
Peel-and-Stick Backsplash:
- Requires measuring, peeling, and pressing into place
- Physical effort: Low
- Skill level: Beginner
It’s worth noting that mistakes with DIY tile backsplashes are harder to fix once the mortar sets. With peel-and-stick, however, mistakes can usually be corrected easily and quickly.
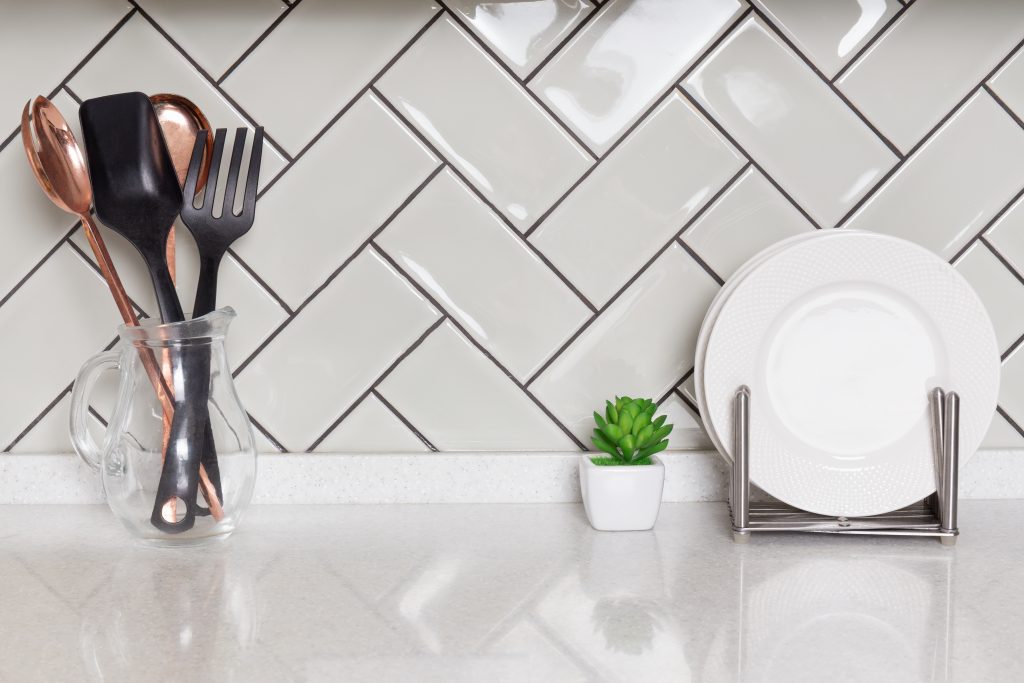
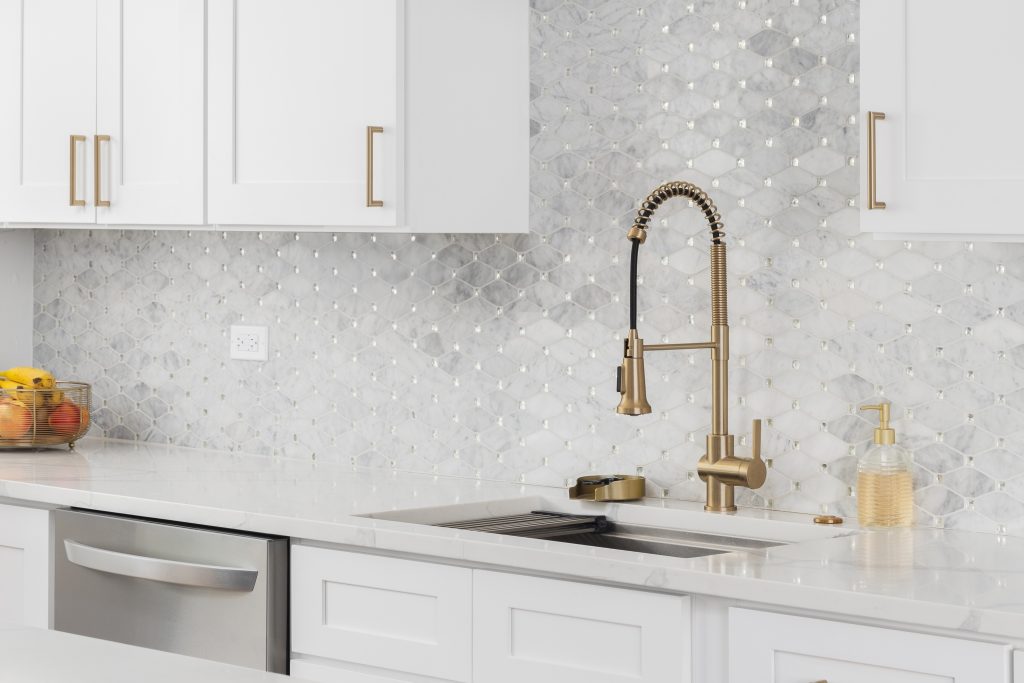
Traditional Backsplash Vs. Peel-and-Stick
Knowing the final results of your DIY backsplash project is helpful when making your final choice. For example, if you’re renting, you might not want to invest in upgrades that will last beyond your move-out. If you own, however, tile might be a better choice.
Traditional Tile Backsplash:
- Lasts for 15 to 30 years or longer
- Is highly resistant to heat, water, grease, and more
- The tile grout needs occasional cleaning and possible re-sealing
- More or less permanent
- Increases your home’s value
Peel-and-Stick Backsplash:
- Last for 3 to 5 years
- Not as resistant to heat
- Not as durable
- Easy to remove and replace
- Needs very little maintenance
- Looks nice but doesn’t increase value
Should You Choose Traditional Backsplash or Peel-and-Stick?
Now that you’ve seen the main differences between tile and peel-and-stick backsplashes, which is best for you? Your final choice will be affected by several factors, including whether you own or rent and the time and money you’re willing to invest.
A Traditional Tile Backsplash is Best If:
- You own your home
- You want something durable and permanent
- You’re interested in increasing your home’s value
- You have the tools already
- You’re confident in your DIY skills
A Peel-and-Stick Backsplash is Best If:
- You’re a renter
- You don’t want to invest a lot of time or money into the project
- You want something that’s easy to remove or replace
- You don’t have the needed tools
- You don’t have a lot of DIY experience
Should You Rent a Storage Unit for Your Kitchen Renovations?
If your backsplash project is part of a bigger kitchen renovation, you might need more space until the project is finished. A self-storage unit is a great solution for these reasons:
- You can store valuables and fragile items to protect them from theft or damage.
- Supplies, materials, and new appliances can be safely stored until they’re needed.
- You’ll be able to free up space to complete the project without extra stuff getting in your way.
If renting a self-storage unit sounds like a smart choice, NSA Storage can help. Our safe, clean, and secure storage facilities offer storage units in several different sizes to fit your needs perfectly. You can also reserve a storage unit online, and it will be ready to store your stuff safely when you arrive. We’re here to help you with all of your DIY and home renovation projects!